Helmet Part Reverse Engineering - 3D Scanning and Print
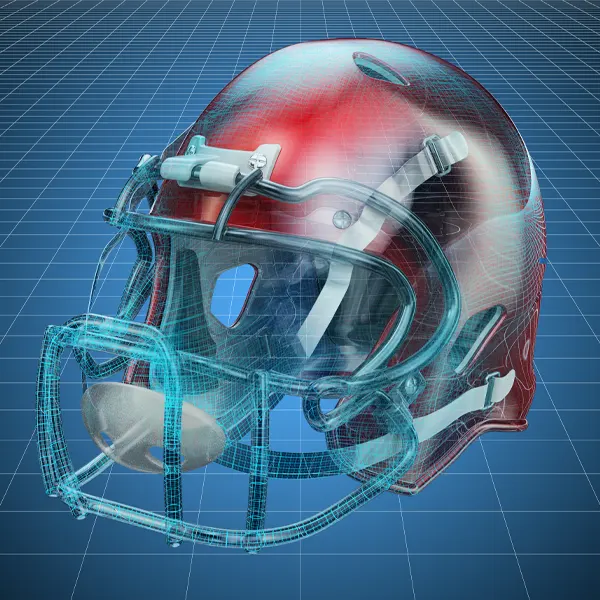
This helmet part reverse engineering subproject focused on a broken helmet component with complex shape and functional detail. First, we scanned the damaged part to capture its geometry. Then, we processed the data and rebuilt the model for production. As a result, the workflow connected digital reconstruction with physical output. This case is part of our reverse engineering projects.
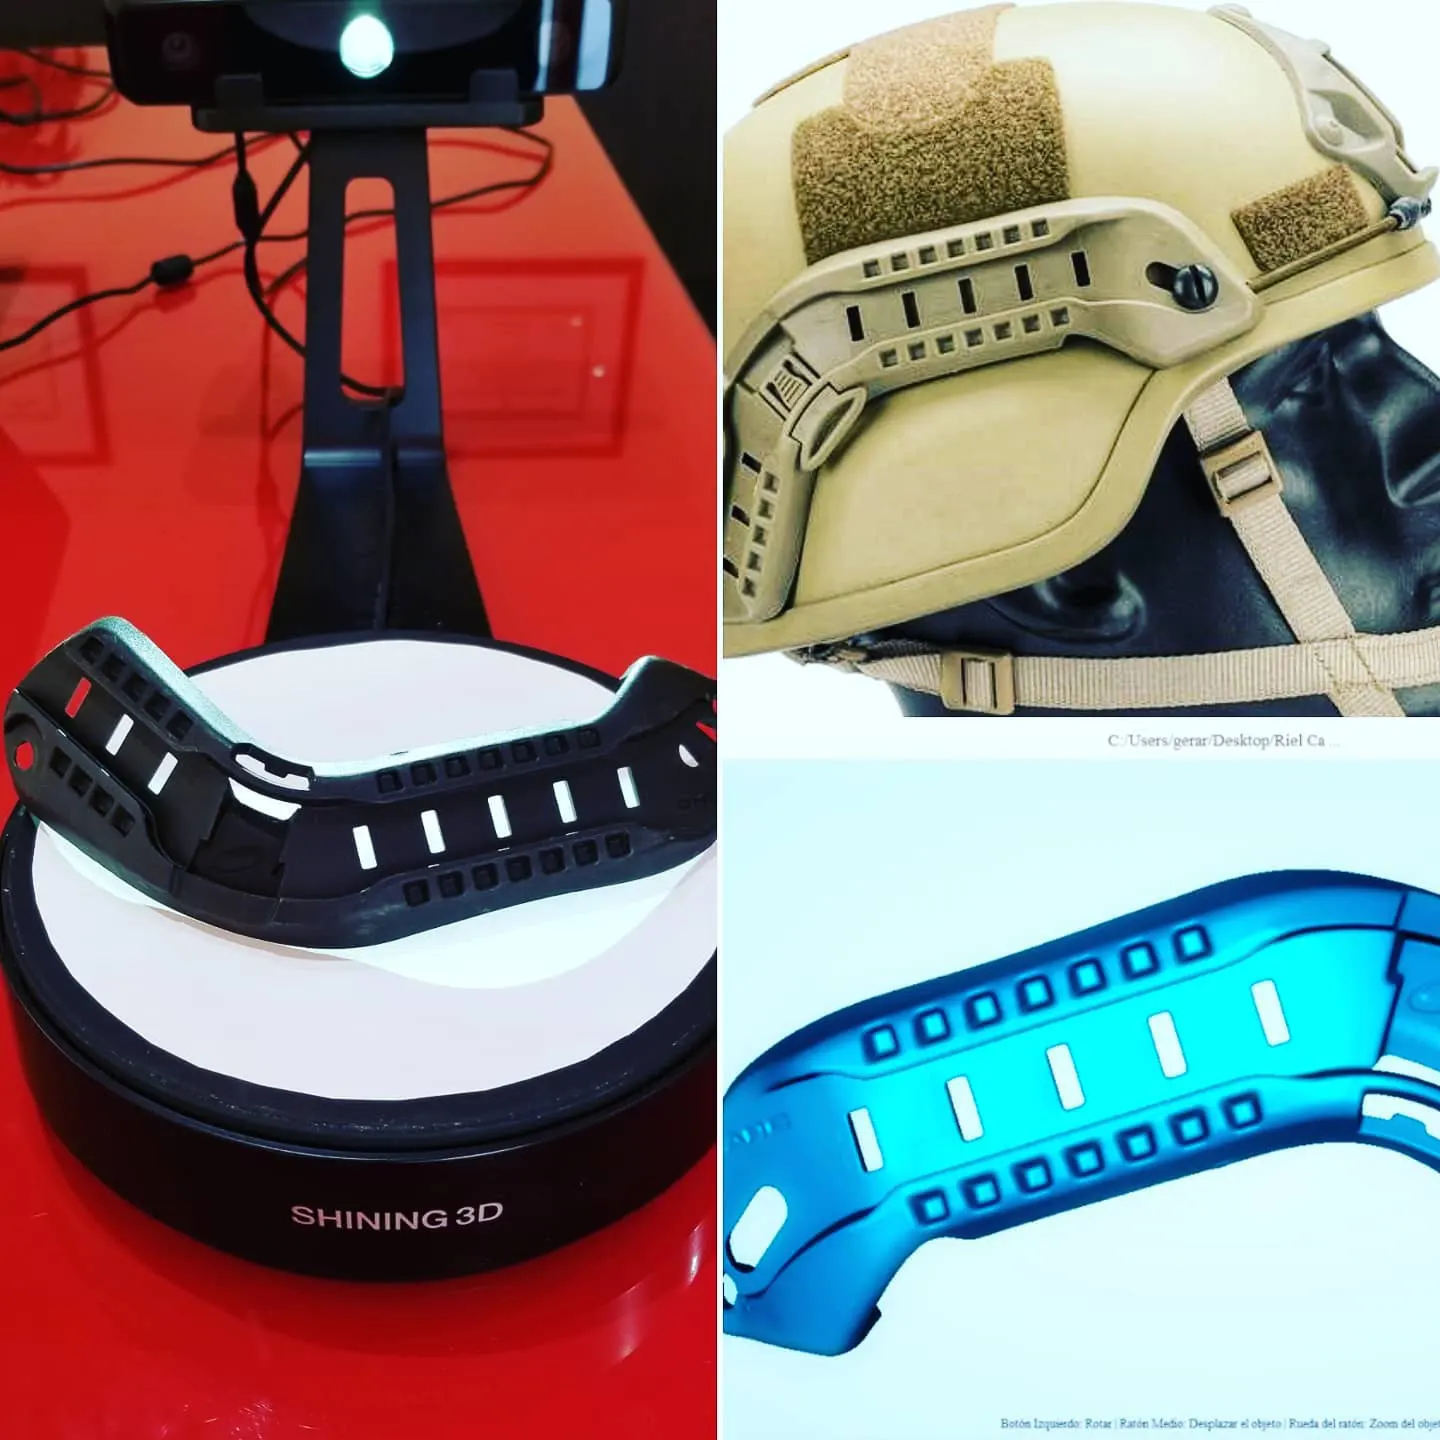
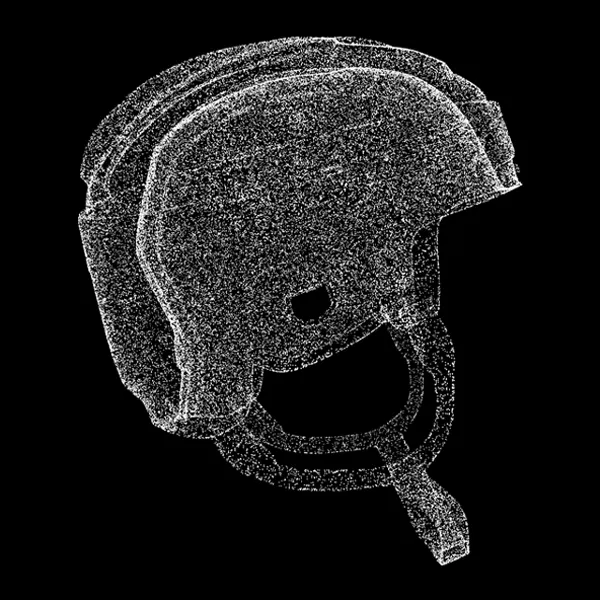
Capture of a Damaged Helmet Component
The original part had broken edges and missing geometry. Therefore, manual measurement was not enough. First, we scanned the component in a controlled setup. Then, we aligned the data and reviewed the surface quality. As a result, we obtained a clean digital base for further work. This approach follows the same logic used across our project portfolio.
Key Technical Tasks
- Capture damaged geometry with stable alignment.
- Preserve functional details and surface transitions.
- Prepare scan data for CAD reconstruction and print.
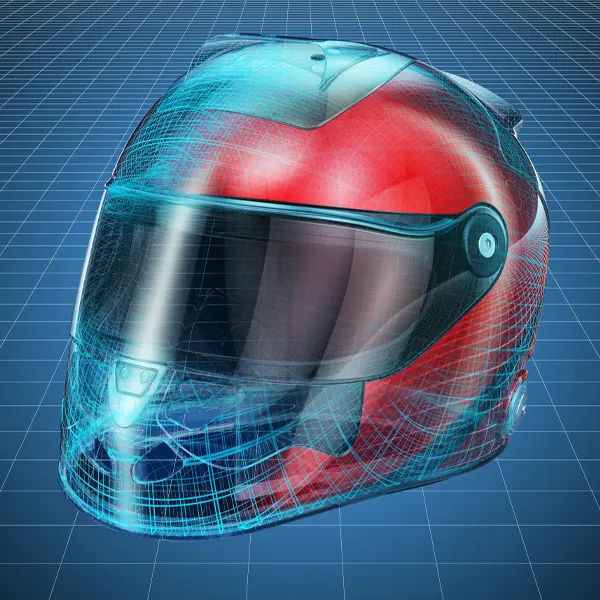
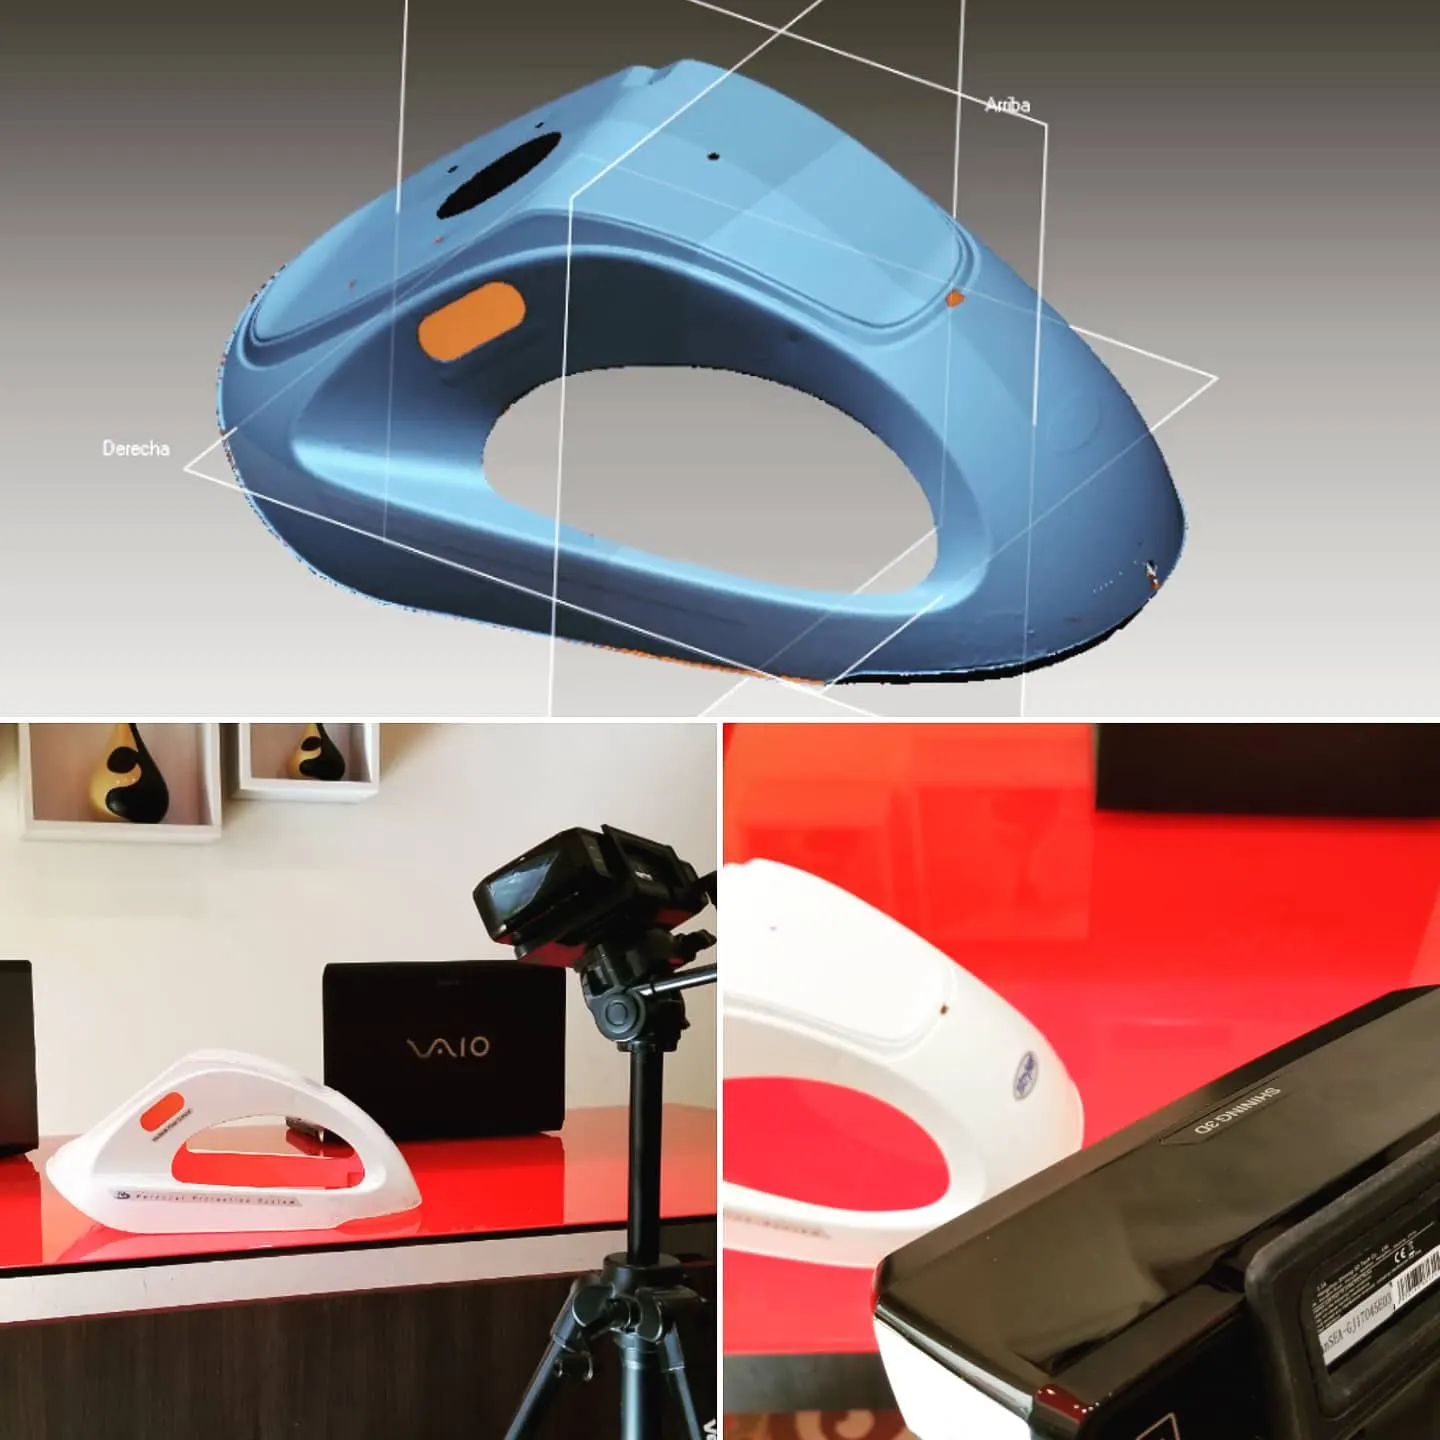
From Scan Data to Rebuilt Geometry
After scanning, we processed the mesh and cleaned the damaged areas. Then, we rebuilt the missing and broken regions in a CAD workflow. In addition, we checked the overall form and part logic. As a result, the model became suitable for technical use. Moreover, the reconstructed file created a reliable base for manufacturing.
Why Reconstruction Was Required
A raw scan is not enough when the part is incomplete. For example, broken edges and surface loss reduce usability. In contrast, a rebuilt model gives control over geometry and fit. Therefore, the part can be reviewed before production. This step also reduces uncertainty in the next stages of the workflow.
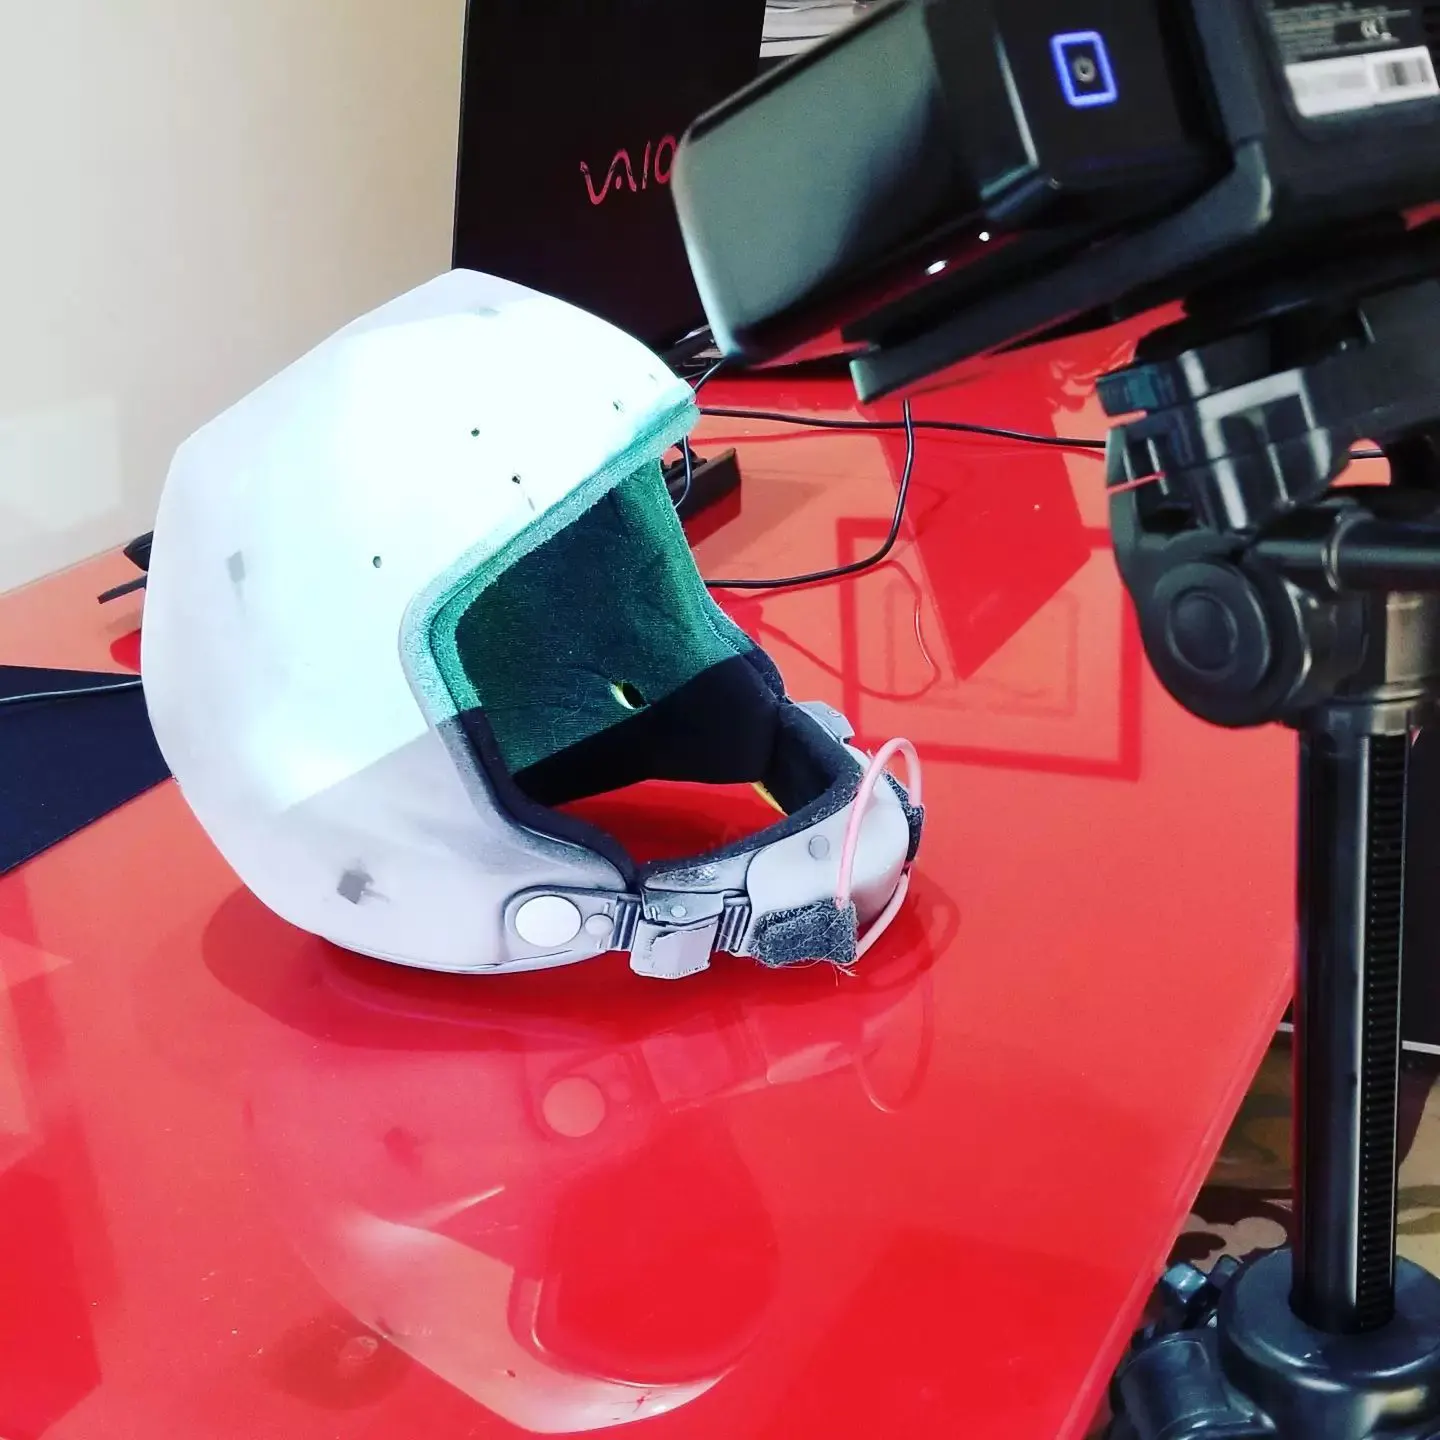
3D Printing and Physical Validation
Once the digital model was ready, we produced the part through 3D printing. This step allowed direct physical validation of the reconstructed geometry. In addition, the printed component made it easier to review form, scale, and functional placement. As a result, the workflow moved from damaged physical part to usable prototype in a clear and efficient way.
Why a Printed Part Improves the Workflow
A printed part shows more than a screen model. For example, it helps assess fit and edge transitions in real space. Moreover, it supports practical comparison with the original component. Therefore, teams can check the result before moving to final production or further refinement.
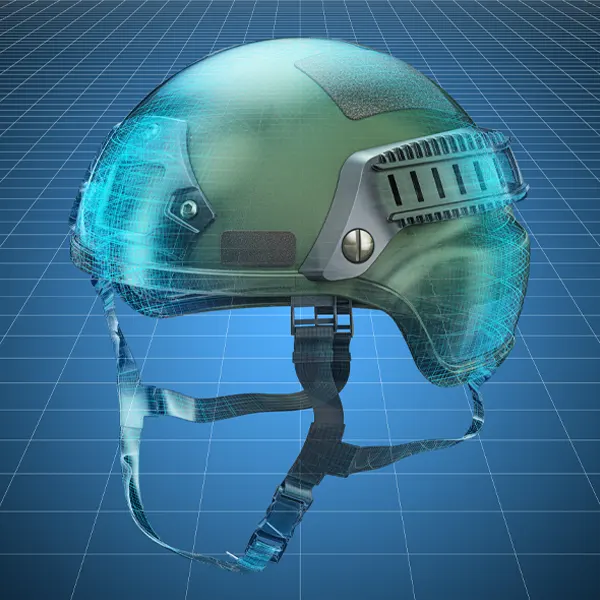
Practical Outcome of the Helmet Part Reverse Engineering project
The final result was a reconstructed digital model and a printed replacement part for evaluation. As a result, the project demonstrated a complete scan-to-production workflow for a damaged helmet component. Moreover, it showed how reverse engineering can support recovery of parts that are difficult to document with manual methods alone. To discuss a similar task, use the contact page.
Project Summary
Scope: 3D scanning of a damaged helmet component, digital reconstruction, and prototype production.
Output: point cloud, processed mesh, CAD-ready geometry, and 3D printed part.
Use case: documentation, part recovery, geometry validation, and preparation for replacement production.
Project FAQ
What is helmet part reverse engineering?
It is the process of scanning and rebuilding a helmet component to create an accurate digital model for analysis or production.
Why scan a broken helmet part?
Because damaged geometry is difficult to measure manually. Therefore, 3D scanning provides a more reliable digital reference.
Can missing areas be rebuilt after scanning?
Yes. CAD reconstruction allows damaged or incomplete areas to be rebuilt into a usable model.
Why use 3D printing in this project?
3D printing makes it possible to validate the reconstructed part physically and check form, fit, and overall geometry.